


Installing DCC in an American Models S-12 Switcher
By Michael Greene
Please be patient - there are 4 pictures on this page to load for viewing!
Like many S scale engines, there are a large number of choices when installing a NMRA DCC compatible decoder. This article describes the conversion of a DC version of this locomotive. One of the first steps in selecting a DCC decoder is to measure both the operating current and the stall current of the particular locomotive. In our tests, the American Models S-12 has an operating current of 0.7A @14VDC and a stall current 1.6A @14VDC.
In this article we will show the installation of two different decoders:
- Lenz LE130 decoder - We prefer decoders with back-EMF support (Lenz calls this load compensation) because they offer finer slow speed control. This decoder is rated at 1 amp continuous motor current (more than adequate for the motor in the S-12), has an NMRA Conformance Seal, and is only 1.04"(L) x 0.67"(W) x 0.26"(H) (or L 26.5mm x W 17mm x H 6.5mm). You can find more information on this decoder on the Lenz web site by following the link above.
- NCE N103 decoder - This decoder is a very easy install because it is a N scale decoder. But again it is a 1A decoder, so more than adequate for the motor in the S-12. The size of the NCE N103 is 1.0"(L) x 0.34"(W) x 0.18"(H). You can find more information on this decoder by following the link above.
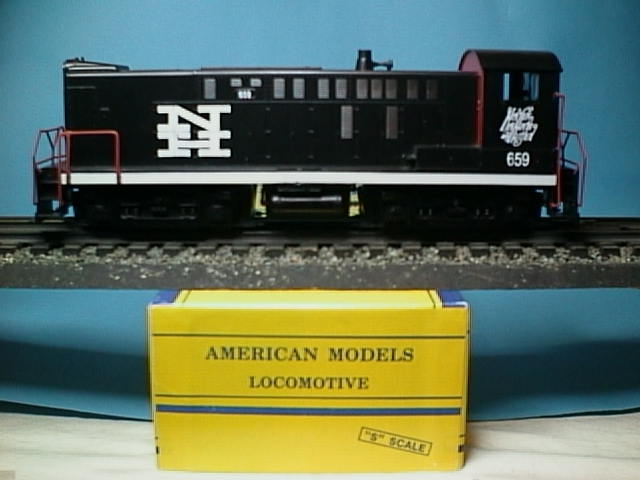
Before we start here are two pictures of the S-12 before started the conversion. The picture after conversion looks exactly the same as we made NO exterior modifications to the shell or locomotive. This first picture shows the S-12 just out of the box.
The following picture shows the locomotive with the shell removed -- i.e. the mechanism.
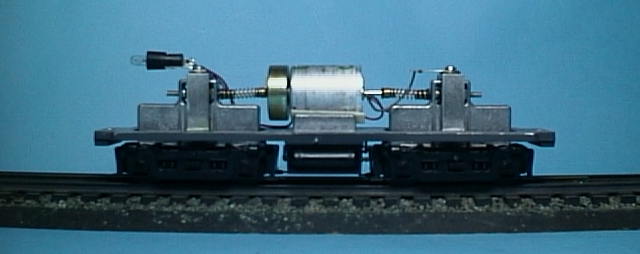
The S-12 does not have an NMRA DCC socket built in from the manufacturer, but it is a very easy locomotive in which to install a decoder because the mechanism is so open. Basically the steps to install a decoder in this locomotive are:
- disconnect the wires at the motor which connect the power pickups to the motor
- connect power pickups on the locomotive to the power leads on the decoder - remember to connect the right and left rails to the correct leads on the decoder so that the locomotive will move in the correct direction if run on a normal DC powered layout
- connect the motor to the motor leads on the decoder
- wire the light to the decoder
Note that one of the IMPORTANT things to do when installing a decoder in this locomotive is to replace the light bulb supplied by the manufacturer with a much lower current draw bulb. The light bulb supplied by the manufacturer is a high current draw bulb, and use of it with a decoder WILL burn out the decoder function lead. We have had good luck using a Miniatronics 16VDC bulb which draws a mere 30mA. These are available in packages of 10 (#18-016-10) or 20 (#18-016-20) at a very reasonable price. You can simply remove the entire light bracket & bulb from the chassis, and replace it with the Miniatronics bulb, taping the bulb in place in the shell with electrical tape, or using hot glue. Some folks prefer to use a small piece of brass tubing to surround the bulb to dissipate the heat.
Also it is highly recommended that you DO NOT run this loco on a DCC layout without replacing the a bulb, even if you have not installed a decoder. The light bulb used by the manufacturer generates a lot of heat, and since the loco sees full voltage from the track, the bulb will get very hot and melt the plastic shell!
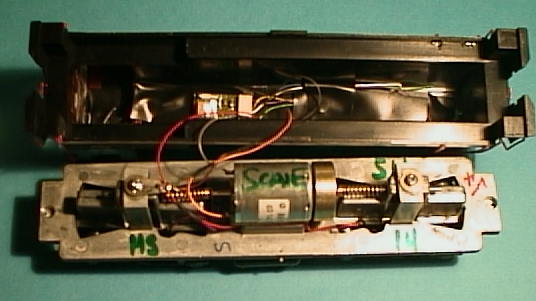
Here's is a picture of the LE130 installation:
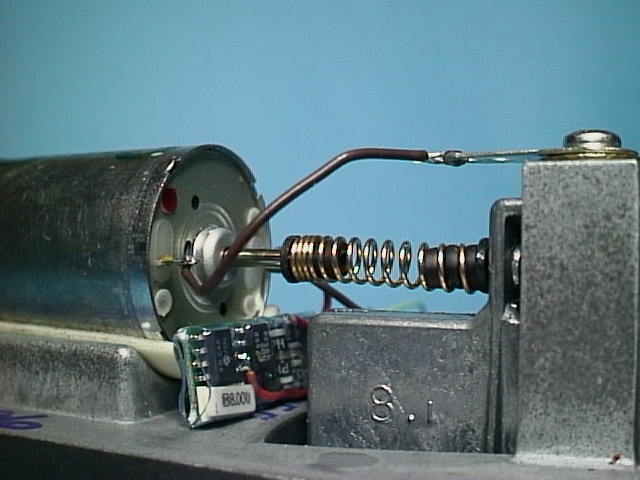
Here's a picture showing how the NCE N103 decoder might be placed in the loco.
Conclusion
I hope these photos will make it easier for you if you are interested in installing DCC in your American Models S-12.
Good luck with your installation!
Michael
Copyright © 2002-2006, C. M. Greene. All rights reserved.
webmaster